
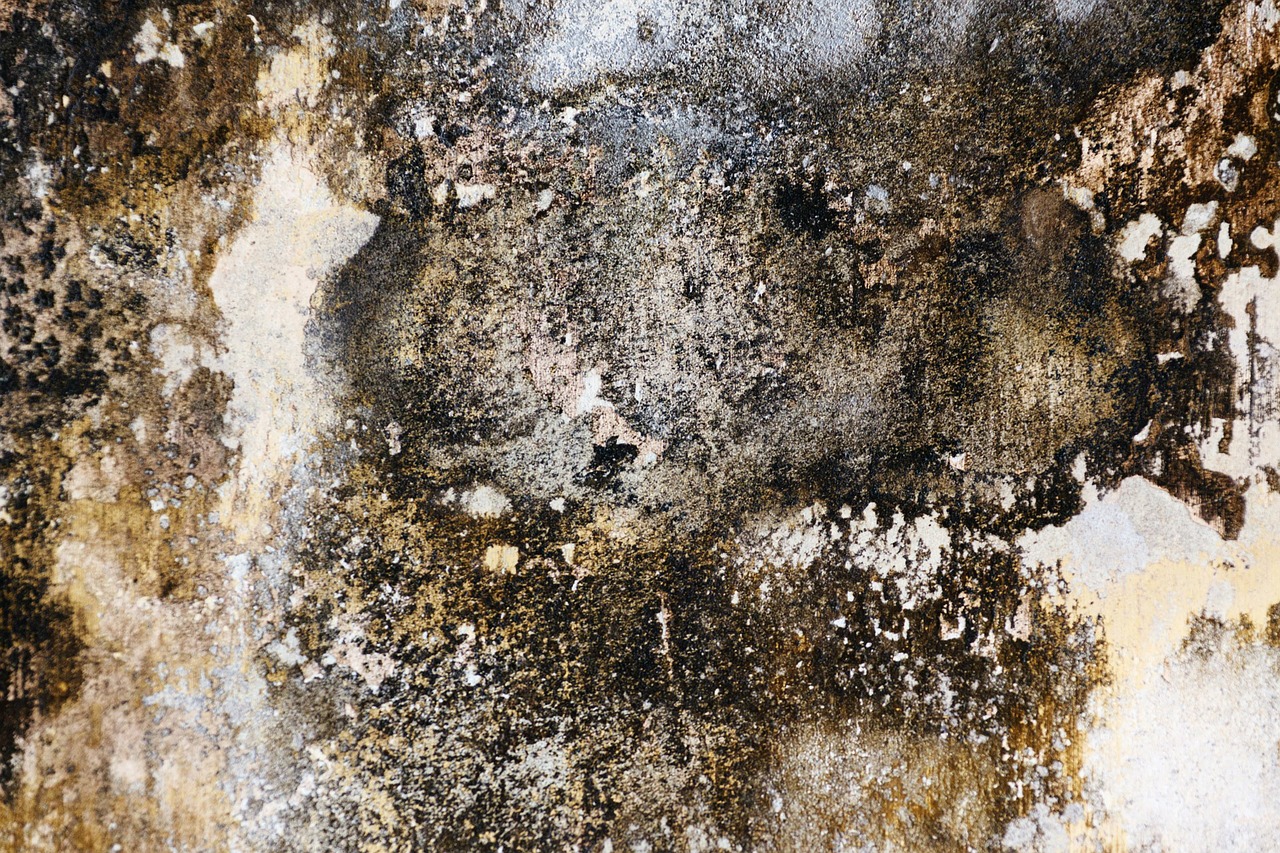
Mould growth, surface bubbling & plaster damage
Having water damage to the plaster in the home can look very unsightly. Not to mention that once the plaster gets wet there will be an increased potential for mould problems in the future. Repairing the plaster that has been damaged can be easy if the correct materials are used. The cost of this depends on the size of the damaged area but normally the job will not be too expensive.
When the plaster gets wet the water will activate the lime, causing bubbling on the surface. The damage could be small with just surface bubbling or it can involve the whole plaster coat. The problems often start as the plaster dries, then the putty coat may form a rock hard shell. Always inform the landlord if the property is privately rented as they will have landlord insurance and will want to look after the property.
How to repair damage to plaster
To repair plaster damage, all of the loose wall material must be removed by scraping the area using a putty knife. This will include all the bubbles and peeling paint. Then draw a square around the water damaged area using a pencil and a carpenter’s square making sure that a couple of inches extra on all sides of the damage is allowed, this will make sure all the damaged plaster is repaired.
Cut out and remove all the plaster within the affected area with a utility knife. This could need doing a few times to remove all the plaster, doing this will insure the job will be completed better. Place a fan by the open area on the wall and run until the wall surface feels completely dry.
If the wall is not completely dry moisture may get trapped in the wall and this could cause mould problems in the future. Smooth some joint compound into the area using steady and even strokes with the trowel. Make sure that there are no low or high areas and definitely no air pockets. Then let the compound dry for a full 24 hours.
Finally sand the area lightly with some drywall sandpaper which will smooth out the ridges or high spots that could have appeared during the 24 hours drying process. Use a damp cloth to remove any drywall dust that was made from sanding and re-paint the area.